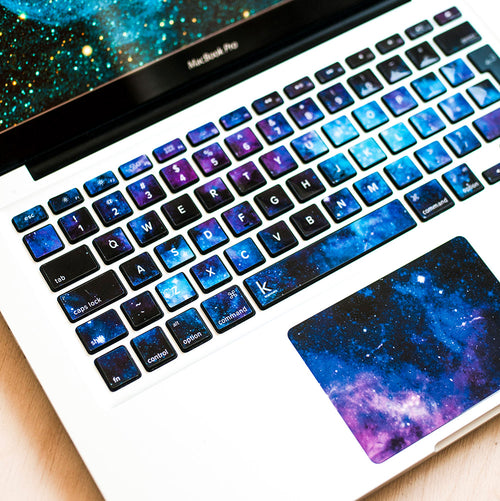
So, you properly applied your beloved keyboard stickers on your keyboard. But time passed, months went by, seasons changed… and you want a different design. It’s time to remove your keyboard stickers like a pro!
It’s not that scary 😀 If you purchased Keyshorts stickers, removal will be very simple. If you got your stickers from another source, the procedure can be more time consuming depending on what material was used to produce your stickers. Fear not. We’ll guide you through the following steps so eventually, you’ll have your stickers removed. As you probably know by now, we are sticker freaks - we applied and removed tons of stickers, and we know what works. Are you ready?
How to remove quality keyboard stickers with removable glue (like Keyshorts)?
Our stickers have fully removable glue and won’t leave any permanent residues. Removal is straightforward:
- Turn off your computer so you avoid writing such email (ertgyhujkjhgfvgbhNONONO) to your boss by accident 😀
- Lever the corner of the sticker with your fingernail or the edge of a credit card. Slowly unstick the sticker, while holding the key with a second hand, so you avoid removing the key from a keyboard as well. Don't use any sharp tool like the Exacto knife - you'll most likely scratch the keyboard surface.
- Repeat it with other keys.
Under certain circumstances, there can be some glue left on the keyboard. This happens when either or both of these events occur:
- the keyboard wasn’t cleaned properly before applying stickers. That’s why we always include good, alcohol-based cleaning wipe with our stickers.
- you’re in a hurry and removed the stickers too fast.
So don’t rush, take your time and everything will be fine 😀
How to remove the glue of cheap and generic keyboard stickers from your keyboard?
You can use two methods, depending on what you have in your bathroom 😀 First method doesn’t always work, but it’s sufficient when there’s only a little glue left. Just wipe/rub the residues with a paper towel (preferably), or with your fingers. Rub it in one direction, until it's removed. It will roll itself off of the key. Make sure to avoid getting the glueballs going in between the keys as it’s really hard to get rid them of such tiny space later.If there’s a lot of residues (especially if you got a paper-based or cheap stickers), there’s one method that always works. Get an acetone-free nail polish remover and nail polish remover pads. Remember not to inhale the fumes and continue the procedure in a properly ventilated room or outside. As an alternative, you can also use coconut oil, but in that case, use the paper towel (no pads):
- Damp pad/paper in remover/oil and simply wipe the keys, one at a time.
- After it’s done, just let the remover evaporate quickly (if you’ve used that) and polish the keyboard with a soft cloth.
Now, your keyboard is ready to get another set of keyboard stickers 😀

